Starting your WordPress journey in 2025? You’re making an excellent choice! WordPress continues to dominate the web with an impressive 43% market share, powering over 541 million websites out of 1.5 billion total websites worldwide. Every single day, 500 new websites are built on WordPress, and it’s trusted by 19% of all e-commerce websites globally.
Whether you’re working with a tight budget or ready to invest in premium hosting, this comprehensive guide will show you exactly how to install WordPress using both free and paid methods. By the end of this tutorial, you’ll have a fully functional WordPress website ready for customization.
Why Choose WordPress in 2025?
Before diving into the installation process, let’s understand why WordPress remains the top choice for website builders:
- Market Leader: 43% of all websites use WordPress
- Massive Scale: Powers 541 million websites globally
- Growing Daily: 500 new WordPress sites launch every day
- E-commerce Ready: 19% of online stores run on WordPress
- User-Friendly: Perfect for beginners and professionals alike
- Highly Customizable: Thousands of themes and plugins available
Two Methods to Install WordPress
There are two primary ways to get WordPress up and running:
- Local Installation (Free) – Perfect for development and testing
- Web Hosting Installation (Paid) – For live websites accessible to the world
Let’s explore both methods in detail.
Method 1: How to Install WordPress Locally (Free)
Installing WordPress locally means setting up a development environment on your computer. This method is completely free and perfect for learning, testing, and development purposes.
Step 1: Download Local WP
- Open your web browser and search for “download Local WP”
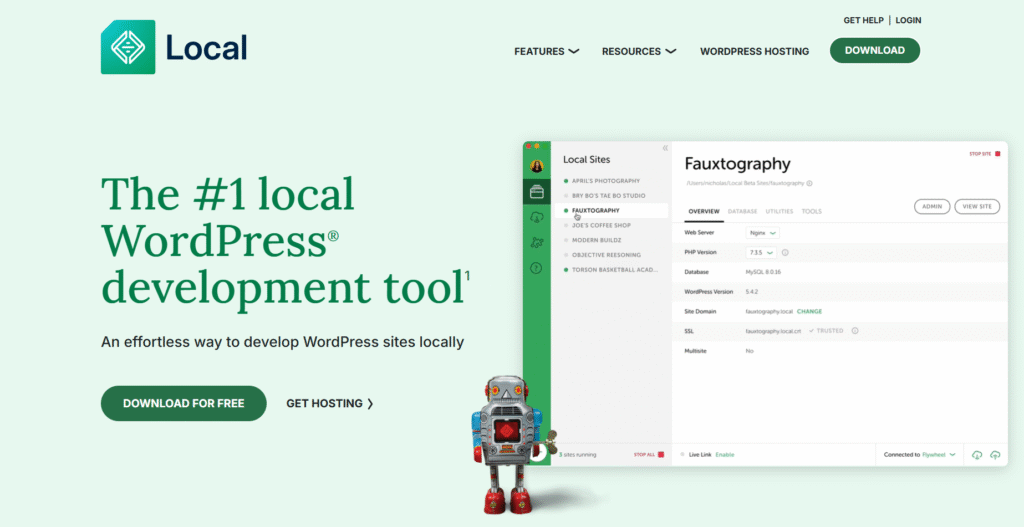
- Visit the official Local WP website
- Click on “Download for Free“
- Select your operating system (Mac, Windows, or Linux)
- Fill in the required details
- Click “Get It Now” to download the installer

Step 2: Install Local WP
- Locate the downloaded installer file
- Run the installer
- Choose installation type:
- Install for yourself (single user)
- Install for all users (recommended for shared computers)
- Select installation location
- Click “Next” and follow the installation prompts
- Click “Finish” when installation completes
Step 3: Set Up Your Local WordPress Site
- Launch Local WP application
- Accept the terms and conditions
- Create a free account or log in if you already have one
- Click “No Thanks” to skip any promotional offers
- Click “Create a New Site“
- Choose “Create a New Site” (not from blueprint)
- Enter your site details:
- Site Name: Choose any name for your project
- Username: Your admin username
- Password: Create a strong password
- Click “Add Site“
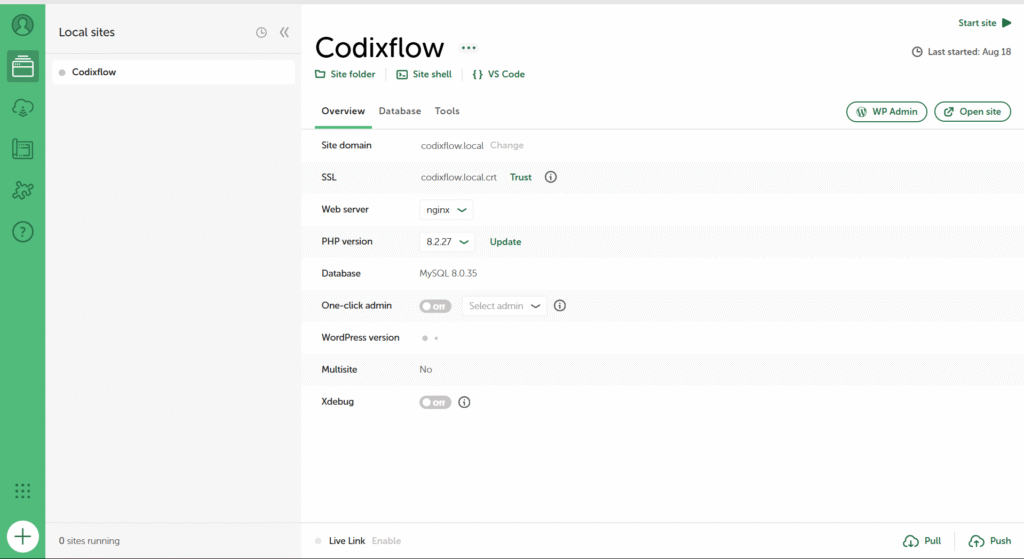
Local WP will now create your WordPress installation. This process may take a few minutes and might request permissions – make sure to allow them.
Step 4: Access Your Local WordPress Site
Once installation is complete:
- Click on “WP Admin” in Local WP
- Your browser will open the WordPress login page
- Enter the username and password you created
- Click “Log In“
Congratulations! You now have a fully functional WordPress website running locally on your computer. You can customize it, add content, and experiment without any hosting costs.

Method 2: How to Install WordPress on Hostinger (Paid)
For a live website that others can access online, you’ll need web hosting. Hostinger offers reliable WordPress hosting with easy installation.
Why Choose Hostinger for WordPress?
- One-click WordPress installation
- Free domain included with hosting plans
- Optimized for WordPress performance
- 24/7 customer support
- Affordable pricing with multiple plan options
Step 1: Purchase Hostinger Hosting
- Visit Hostinger’s website through this link
- Click “Start Now” or “Get Started“
- Browse the available hosting plans
- Select a plan that suits your needs:
- Single: Basic plan for one website
- Premium: Better storage and speed (recommended)
- Business: Advanced features for growing websites
- Choose your billing cycle (12, 24, or 48 months)
- Click “Continue” and complete the purchase
Pro Tip: Longer billing cycles often offer better discounts and include free domain registration.
Step 2: Access Hostinger Dashboard
After completing your purchase:
- Check your email for login credentials
- Log into your Hostinger dashboard
- Navigate to the hosting management section
Step 3: Install WordPress on Hostinger
- In your Hostinger dashboard, click “Create New Website“
- Fill in your WordPress site details:
- Admin Username: Choose your admin username
- Password: Create a strong, secure password
- Email: Enter your email address
- Click “Next” to proceed
- Choose your website type or select “Create Blank Site“
- Enter your domain name (the free domain included with your hosting plan)
- Click “Install WordPress“
The installation process will take a few minutes. Hostinger’s automated system will set up WordPress with all necessary configurations.
Step 4: Access Your Live WordPress Site
Once installation is complete:
- You’ll receive a confirmation message
- Click on the provided link to access your WordPress admin area
- Log in using the credentials you created
- Start building your website!
WordPress Installation: Best Practices
Security Considerations
- Use Strong Passwords: Create complex passwords with mixed characters
- Regular Updates: Keep WordPress core, themes, and plugins updated
- Backup Your Site: Set up regular backups from day one
- Limit Login Attempts: Install security plugins to prevent brute force attacks
Performance Optimization
- Choose Reliable Hosting: Quality hosting affects site speed and uptime
- Optimize Images: Compress images before uploading
- Use Caching: Install caching plugins for better performance
- Monitor Site Speed: Regularly test your site’s loading times
Local vs. Hosting: Which Method Should You Choose?
Choose Local Installation If:
- You’re learning WordPress development
- You want to test themes and plugins safely
- You’re building a site before going live
- You need a free development environment
Choose Web Hosting If:
- You want a live website accessible to visitors
- You’re ready to launch your business online
- You need professional email addresses
- You want search engines to find your site
Common WordPress Installation Issues and Solutions
Local Installation Troubleshooting
Issue: Local WP won’t start Solution: Check system requirements and restart your computer
Issue: Site creation fails Solution: Ensure you have administrator privileges and sufficient disk space
Hosting Installation Troubleshooting
Issue: WordPress installation times out Solution: Contact hosting support or try again during off-peak hours
Issue: Can’t access admin area Solution: Clear browser cache and check your internet connection
Next Steps After WordPress Installation
Once you’ve successfully installed WordPress, here are your immediate next steps:
- Explore the Dashboard: Familiarize yourself with the WordPress interface
- Update Everything: Check for WordPress core, theme, and plugin updates
- Configure Basic Settings: Set your site title, tagline, and timezone
- Create Your First Pages: Add essential pages like About and Contact
- Choose a Theme: Select a design that matches your vision
- Install Essential Plugins: Add functionality with carefully chosen plugins
Conclusion
Installing WordPress in 2025 is easier than ever, whether you choose the free local method or invest in professional web hosting. Both approaches have their merits:
- Local installation gives you a risk-free environment to learn and experiment
- Web hosting installation puts your site live on the internet immediately
Remember, WordPress powers nearly half of all websites for good reason – it’s flexible, user-friendly, and grows with your needs. Whether you’re building a personal blog, business website, or online store, WordPress provides the foundation for success.
Ready to take your WordPress skills to the next level? Stay tuned for our upcoming guides on themes, plugins, and advanced customization techniques that will help you create stunning, professional websites.
Next Read: How to build a website with wordpress
Frequently Asked Questions
Q: Is it free to install WordPress? A: WordPress software is free, but you’ll need hosting for a live website. Local installation is completely free.
Q: How long does WordPress installation take? A: Local installation takes 10-15 minutes, while hosting installation typically takes 5-10 minutes.
Q: Can I migrate from local to live hosting later? A: Yes, you can easily migrate your local WordPress site to web hosting using migration plugins or manual methods.
Q: Do I need technical skills to install WordPress? A: No, modern installation methods are designed for beginners with step-by-step guidance.
Start your WordPress journey today and join millions of website owners who’ve chosen the world’s most popular content management system!


